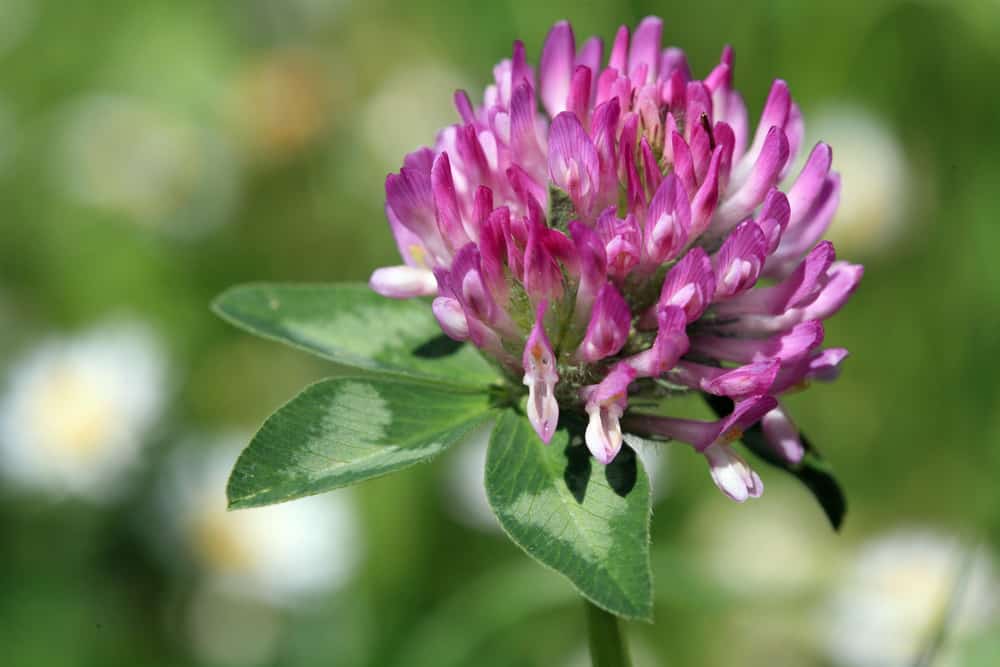
Frost seeding clover
With the snow beginning to melt and spring just around the corner, it’s time to begin thinking about seeding your clover cover crops on the frost for your winter grains. Clover is still one of the most beneficial cover crops to use when you have a winter grain crop. Thompsons Agronomy has put together some tips to help achieve good success when frost seeding clover.
Why clover?
- Establishes and maintains growth under low light and under competition for other crops
- Well adapted to all of Ontario
- Has an extensive root system with a tap root that can work though compacted layers and extensive lateral roots in the top 6” of soil which contributes to good structure and tilth
- Provide nitrogen credits to the following crops
- Termination of the crop is relatively easy with proper tillage and/or herbicides
Species selection
Generally Red Clovers are used (single or double cut) because the seed is dense, which improves seed-soil contact, it germinates at low temperatures and has high seedling vigor, allowing it to start growing early in the spring. Double cut is ideal if you are looking for the maximum nitrogen credit or are wanting to graze/bale the crop for feed as it is more vigorous in the seeding year. Single cut clovers put more emphasis on root growth and are consider better at soil conditioning. Other options are alfalfa, sweet clover, or various mixes (45% single/double and 10% sweet clover).
Time of seeding
The ideal time to frost seed is in the very early spring. As soon as the majority of the snow is melted you can seed. The key is to wait long enough so the snow melt won’t move the seed (if you have washouts or a lot of surface drainage) but not too long that the fields become wet and muddy. The ground should freeze and thaw 2 – 3 times after the seed is broadcast. It is common to use either a ATV (less compaction) or a tractor, both with a spinner spreader. Consider using half rates and overlapping passes to ensure an even spread pattern.
Suggested seeding rate
| Red clover | 8-10 lbs/acre* |
| Mixes | Suggested supplier rates |
Special notes:
- Thin or patchy stands can be the result of many things. The most common are:
- Applying a lower than recommended rate
- Uneven application
- Poor soil conditions that inhibits proper germination and seedling development (commonly too wet due to poor drainage or compaction)
- Low soil fertility levels, particularly P2O5, K20, and pH
- No inoculant used on fields without a recent history of clover production; Rizobium trifolii should be used on red clover species
- Red clover does not affect winter wheat yields or protein. The wheat is already established and will rapidly out compete the clover until harvest
- Be careful not to seed too early; late frost events affect older seedlings more than younger ones
- Uneven spreading of straw at harvest may smother out some clover, causing a variable stand
- Higher nitrogen rates (120+ lbs/ac) on wheat reduces establishment because the wheat is more competitive.
- Nitrogen credits for clover are generally higher when mechanically incorporated over no till (expect 45 to 80 lbs/ac N)
- N release from red clover better coincides with the N uptake pattern of late season crops like corn and potatoes than for cool-season crops; N release occurs during June and July
- The inclusion of winter wheat under-seeded with clover increase yields of other crops in the rotation and reduce the nitrogen expense for the following corn crop. This is due to the soil health and structure benefits which offset expenses because of the nitrogen credits it provides.


